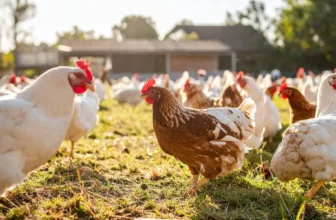
Hatching chicken eggs using an incubator can be a rewarding experience if you follow the right steps. You need to set up your incubator in a clean, stable spot and get the temperature just right. It’s crucial to maintain proper humidity and ensure the eggs are turned regularly. But there’s more to it than just these basics. Let’s explore the essential details that can make or break your incubation success.
Setting Up the Incubator
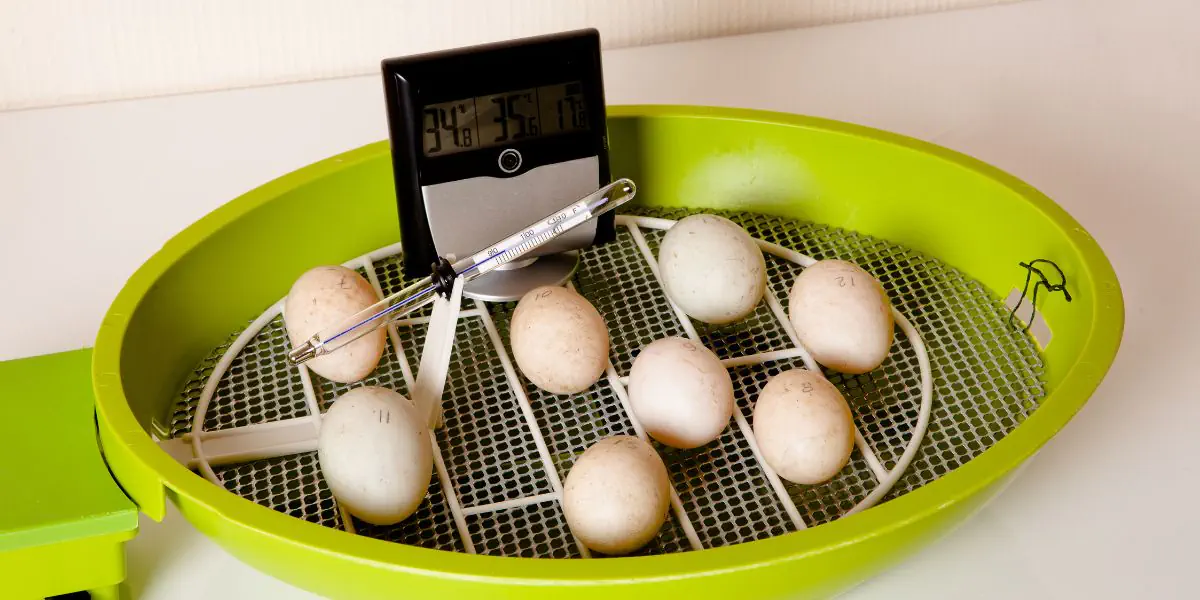
Setting up the incubator is crucial for successful hatching, and you can make this process straightforward with a few key steps.
First, choose a clean, dry location away from direct sunlight and drafts. Place your incubator on a stable surface to avoid any movement.
Next, plug it in and let it run for at least 24 hours before adding eggs. This allows you to check the temperature and ensure everything’s functioning properly.
Make sure to calibrate the thermostat and set it to the recommended temperature for chicken eggs. Additionally, familiarize yourself with the incubator’s controls and features.
Once you’ve confirmed that it’s working correctly, you’re ready to place your eggs inside. Good luck!
Maintaining Temperature and Humidity
Once your incubator is up and running, you’ll need to focus on maintaining the right temperature and humidity levels for successful egg hatching.
Ideally, the temperature should stay around 99.5°F (37.5°C). Use a reliable thermometer to monitor it closely. If it fluctuates, adjust the heating element accordingly.
Humidity is equally crucial; aim for around 50-55% during the incubation period. You can manage humidity by adding water to the incubator’s reservoirs.
Keep an eye on the humidity gauge, and refill as needed to prevent it from dropping too low. A consistent environment helps your embryos develop properly, so check the settings daily.
If you notice significant changes, take immediate action to correct them.
Turning the Eggs
To ensure healthy embryo development, you need to turn the eggs regularly throughout the incubation period. This helps prevent the embryos from sticking to the shell and promotes even heat distribution.
Aim to turn the eggs at least three times a day, but if you can do it more frequently, that’s even better. If you’re using a manual incubator, gently turn each egg 180 degrees, making sure to keep track of which side was facing up.
Some incubators come with automatic turning features, which can simplify the process for you. Remember to handle the eggs carefully to avoid damaging them.
Consistent turning is crucial, so set reminders if necessary, ensuring your chicks have the best chance for healthy development.
Monitoring Development and Hatching Day
As you approach the hatching day, monitoring the development of your eggs becomes crucial to ensure a successful outcome. Use a reliable incubator thermometer and hygrometer to keep track of temperature and humidity levels.
Ideally, maintain a temperature of 99.5°F and humidity around 40-50% during incubation, increasing humidity to 65-70% as hatching nears.
Watch for signs of development, like veins and movement within the eggs. Around day 18, stop turning the eggs and prepare for hatching.
On hatching day, listen for chirping sounds, indicating that chicks are ready to break free. Give them time and space; don’t rush the process.
Once hatched, allow chicks to dry and regain strength before placing them in a brooder.
Conclusion
By following these steps, you’re well on your way to hatching healthy chicks using an incubator. Remember to keep an eye on temperature and humidity, turn the eggs regularly, and monitor their development closely. When hatching day arrives, provide a cozy environment for the chicks to dry off and regain their strength. With a bit of care and attention, you’ll enjoy the rewarding experience of watching your little ones break free from their shells!
Trending Products